Showing posts with label rhinestones. Show all posts

Monday, January 27, 2014

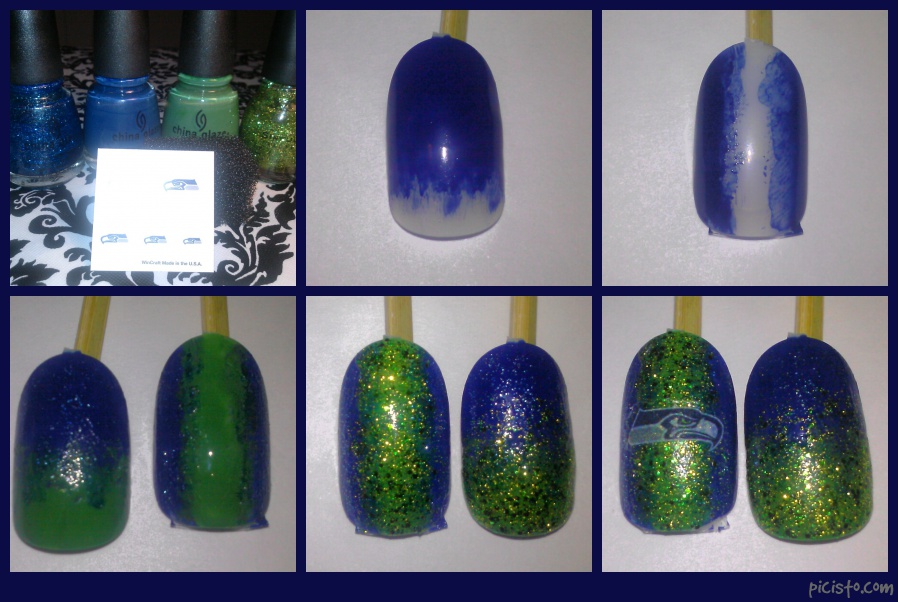
Seahawks Nail Picture Tutorials

Like I had mentioned in my last post, I did a quick picture tutorial to show how you can recreate some of the looks I did to rock them next Sunday! All products used are pictured and listed right after each tutorial (left to right, back row to first row).

Now, for the first manicure tutorial, I had originally done the logo and "12" using acrylic paints and by following this amazing nail sticker method video. This is also the same method that I used to make the players' face. If you are good with your non-dominant hand, just do it freehand. For time/tutorial sake, I used some nail tattoos that I found at Party City and skipped the "12" because Im sure everyone can do a 12. Lol


Original Seahawks manicure


Products:
Green, Blue, White, and Black acrylic paints (originally used to make logo and "12", but only used white for this tutorial)
Kiss Blue nail art striper (only used the brush)
China Glaze Dorothy Who
China Glaze First Mate
China Glaze Starboard
dotting tool


Seahawks Manicure 2
 
This look is basically a glitter gradient and this has got to be the best video I have found on how to achieve it, except I add the color directly to the sponge instead of pouring it on a plate. I also used the solid green at the tip before sponging the glitter so it could stand out more.  Again, I used the same logo tattoos


China Glaze Dorothy Who
China Glaze First Mate
China Glaze Starboard
Sinful Colors Call You Later
Nail Tattoos
Cosmetic Sponge


Seahawks Manicures 3& 4
 
For the next two manicures, I used the exact same products so no need to list or picture them twice. The one thing I did forget to picture was the rhinestones. You can use green or silver, it doesn't make much of a difference. 
 
Kiss Blue striper polish (only used the brush)
China Glaze First Mate
Sally Hansen Celeb City
Ssalon Perfect Loopy Lime (I believe that's the name, name came off)
Kiss Lime Green striper polish (only used the brush)
Nail Tattoos
2mm and 3mm rhinestones


I hope you guys love these looks, try them out, and share!

Oh, and GO HAWKS!

Tuesday, January 21, 2014

NFC Champs- Seattle Seahawks!

I know that I've been gone for almost a year, but I had decided to take a break from makeup due to a great loss in my family and other personal issues. I've only worked with about 10 brides this past year whom have been either family, friends, or a friend of a family member. It's really hard to concentrate and focus on others' happiness when you are trying to overcome the loss of a family member.

With that out of the way, let's get down to business! A few months, I happened to see a picture that one of my friends liked which showed up on my Facebook news feed which looked so familiar to me. It ended up being a copy that a nail salon had done of my original Seahawks nail design! As strange as it is to see others doing your design, it's kind of an honor knowing that it served as an inspiration to someone. I later went on Google and Pinterest and saw how many times people had liked and repined the design, I seriously lost track trying to see how many times it had been repined. Plus, my original post has been viewed on over 4,000 just in the past month! Wow!

I had done 4 other designs since this season started, so I wanted to share them on here so fellow 12th women can rock their Seahawks nails during for the Super Bowl! Also, I have a tutorial on how to achieve some of the looks because I've had quite a few people ask me how to recreate them.

Enjoy and GO HAWKS!!!


My vector portrait attempt! lol
Top: Earl Thomas and Marshawn Lynch
Bottom: Richard Sherman (lol) and Russell Wilson
Seahawks nails with portraits

Glitter gradient Seahawks nails

Seahawks nail art

Seahawks nail design


Tuesday, October 16, 2012

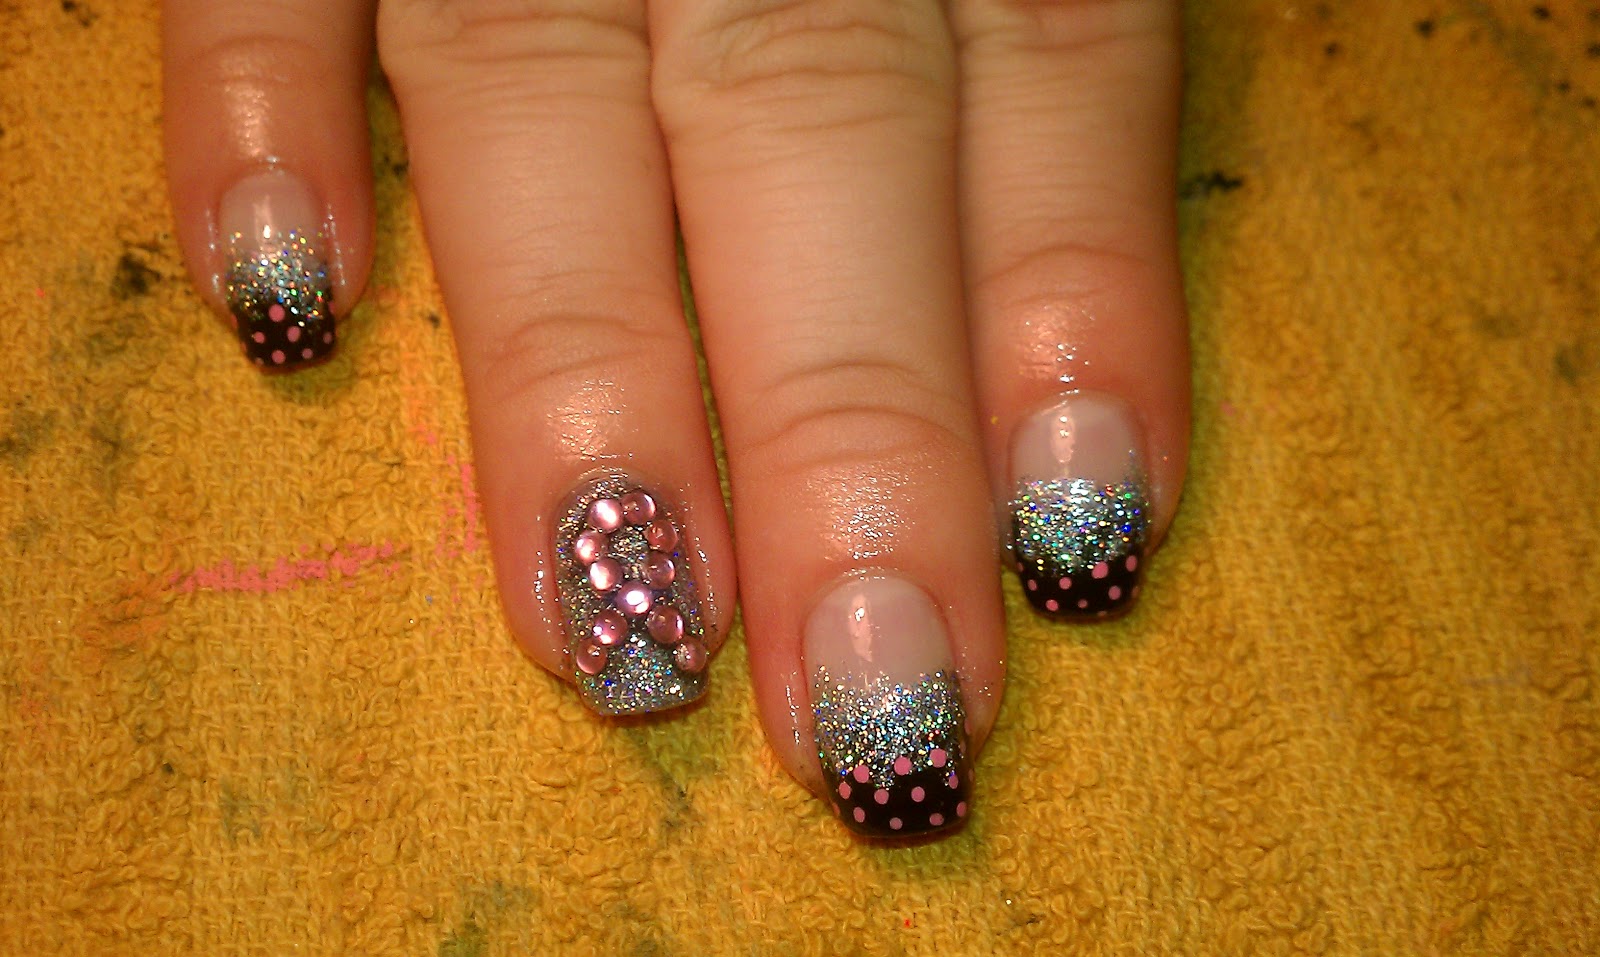
Breast Cancer Awareness Nails

 
I knew I needed to post something on here soon when I had friends calling to ask if I was still alive. Yes, I am alive, but have been completely swamped with work these past few weeks that I haven't had time to post anything. I do have a couple of looks that I will be posting pretty soon along with some other stuff, so stay tuned. Today, I wanted to share some of the nail looks which I've done these past few weeks in honor of BCA month which is in October. I love taking inspiration from work others have done and just add a twist to it. So, I posted the picture I used for inspiration first and then the look I did. Hope you guys love them!

BCA nail inspiration #1

My take on the BCA nail inspiration #1


This is by the beautiful Ms Robin Moses, check out her YouTube and blog. Obviously, I was not going to do the skulls!

My twist minus the skulls plus a bunch more glitter!
 

For this look, I had tons of issues trying to upload the original photo I used for inspiration, so I will just link it! My Sweet Nail Art Blog

Monday, September 10, 2012

Ensemble Fashion Show

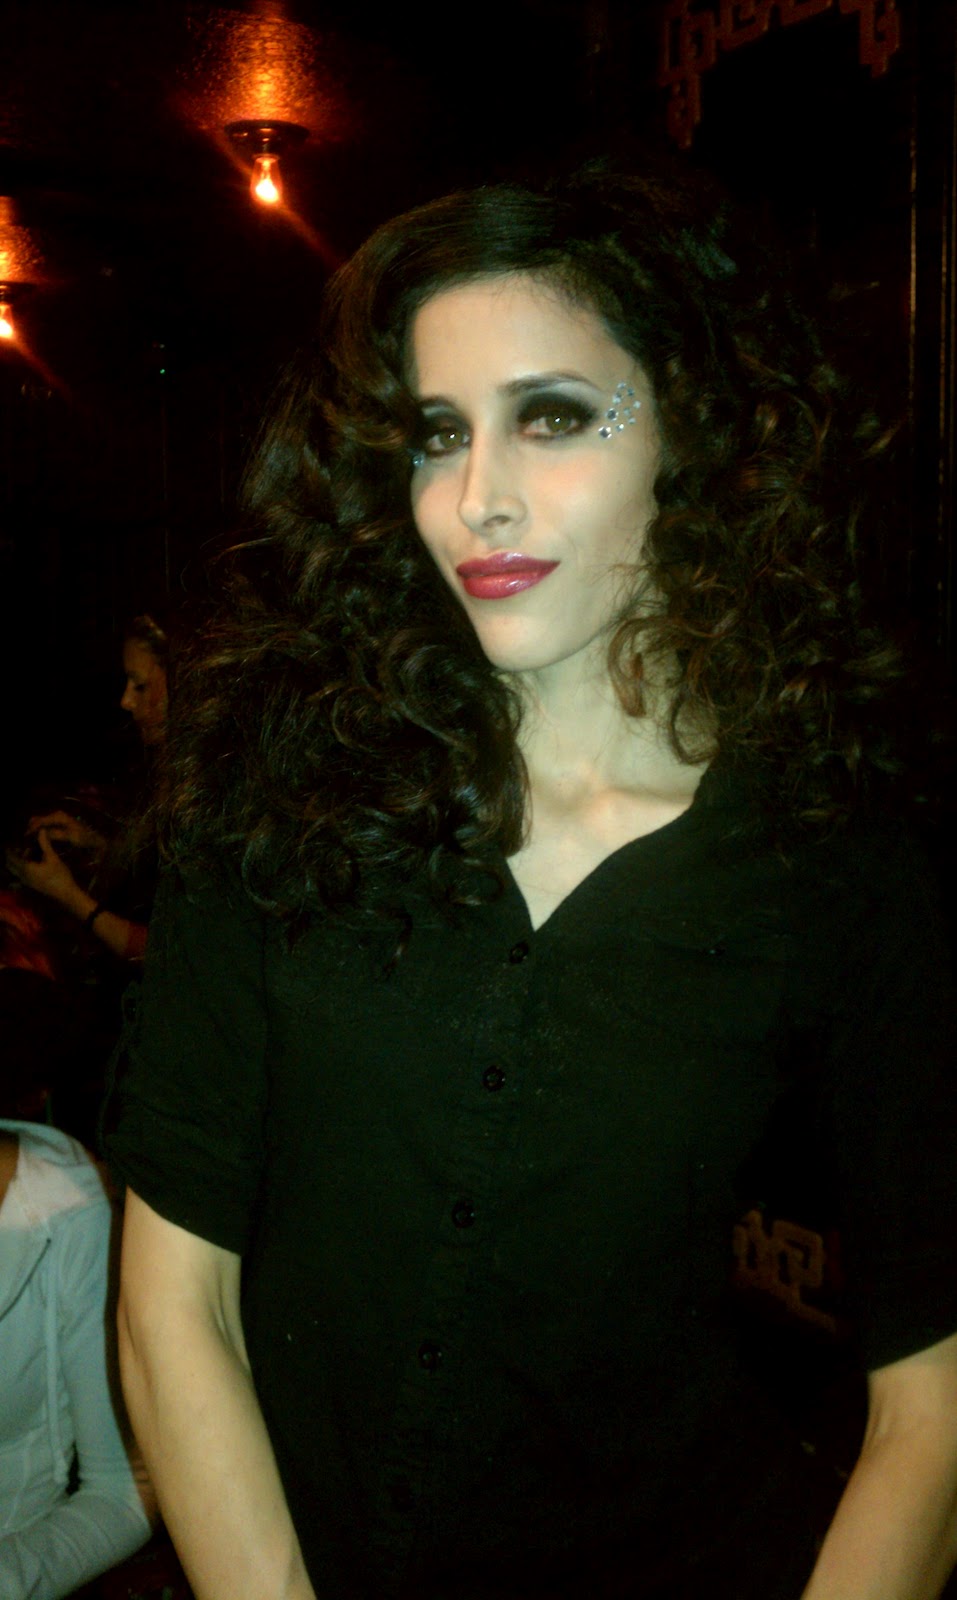
Saturday night, I had the chance to do makeup for a fashion show put together by Seattle's RAW Artist where they showcased different local designers. I love these types of events because you get to meet local artist, musicians, designers, models, etc and learn about them. Trust me, we have great talents here in the Pacific NW! You can check out the page here: http://www.rawartists.org/seattle


I went in to do makeup for Angelesque Shoes, they are absolutely gorgeous! They designer and I didn't know that RAW had arranged for students from the Gary Manuel Aveda Institute in Seattle to be there to help out with makeup, which turned out great because we needed all the hands we could get in the back! Amidst the craziness that is backstage, we managed to only lose 1 thing: a new UDPP. :(


Since we had help in the back, I only did makeup for 2 of the Angelesque models and ended up doing two other models for the other designers being showcased! That is what I love about being a Makeup Artist, when you work a runway or photo shoot with other MUA's, you don't fight or get competitive! We help each other out to get the girls done faster and more efficiently. In the long run, if I ever need help with a gig o need to refer a client, I know who I can call. There are always events that come up which I am not able to do because it is either too far or I have other arrangements, but I know great MUA's who can help them out.


These are just some of the photos which I took with my phone, waiting on photos from the designer and photographer. The first two are of Model Claudia Lorena from Peru, I had a blast doing her makeup and everyone just staring at us because we kept talking in Spanish with an occasional English word that would slip in! The second model was walking for Mac Fashion House. Once again, amazing designs!

Sunday, I went up to Bellingham to do a Bridal Makeup consultation with bride-to-be: Pinky. OMG, she was as sweet as could be. When I got there, the whole family was getting ready for her Bridal Shower and there was food everywhere! Since it is going to be an Indian wedding, she will need to do different looks for the different events. This is the first look we tried, super natural but a little pin up-ish with the red lip... which her fiance loves. Since lighting was not the best, I gave up trying to take pictures of the other looks and hair.


Friday, September 7, 2012

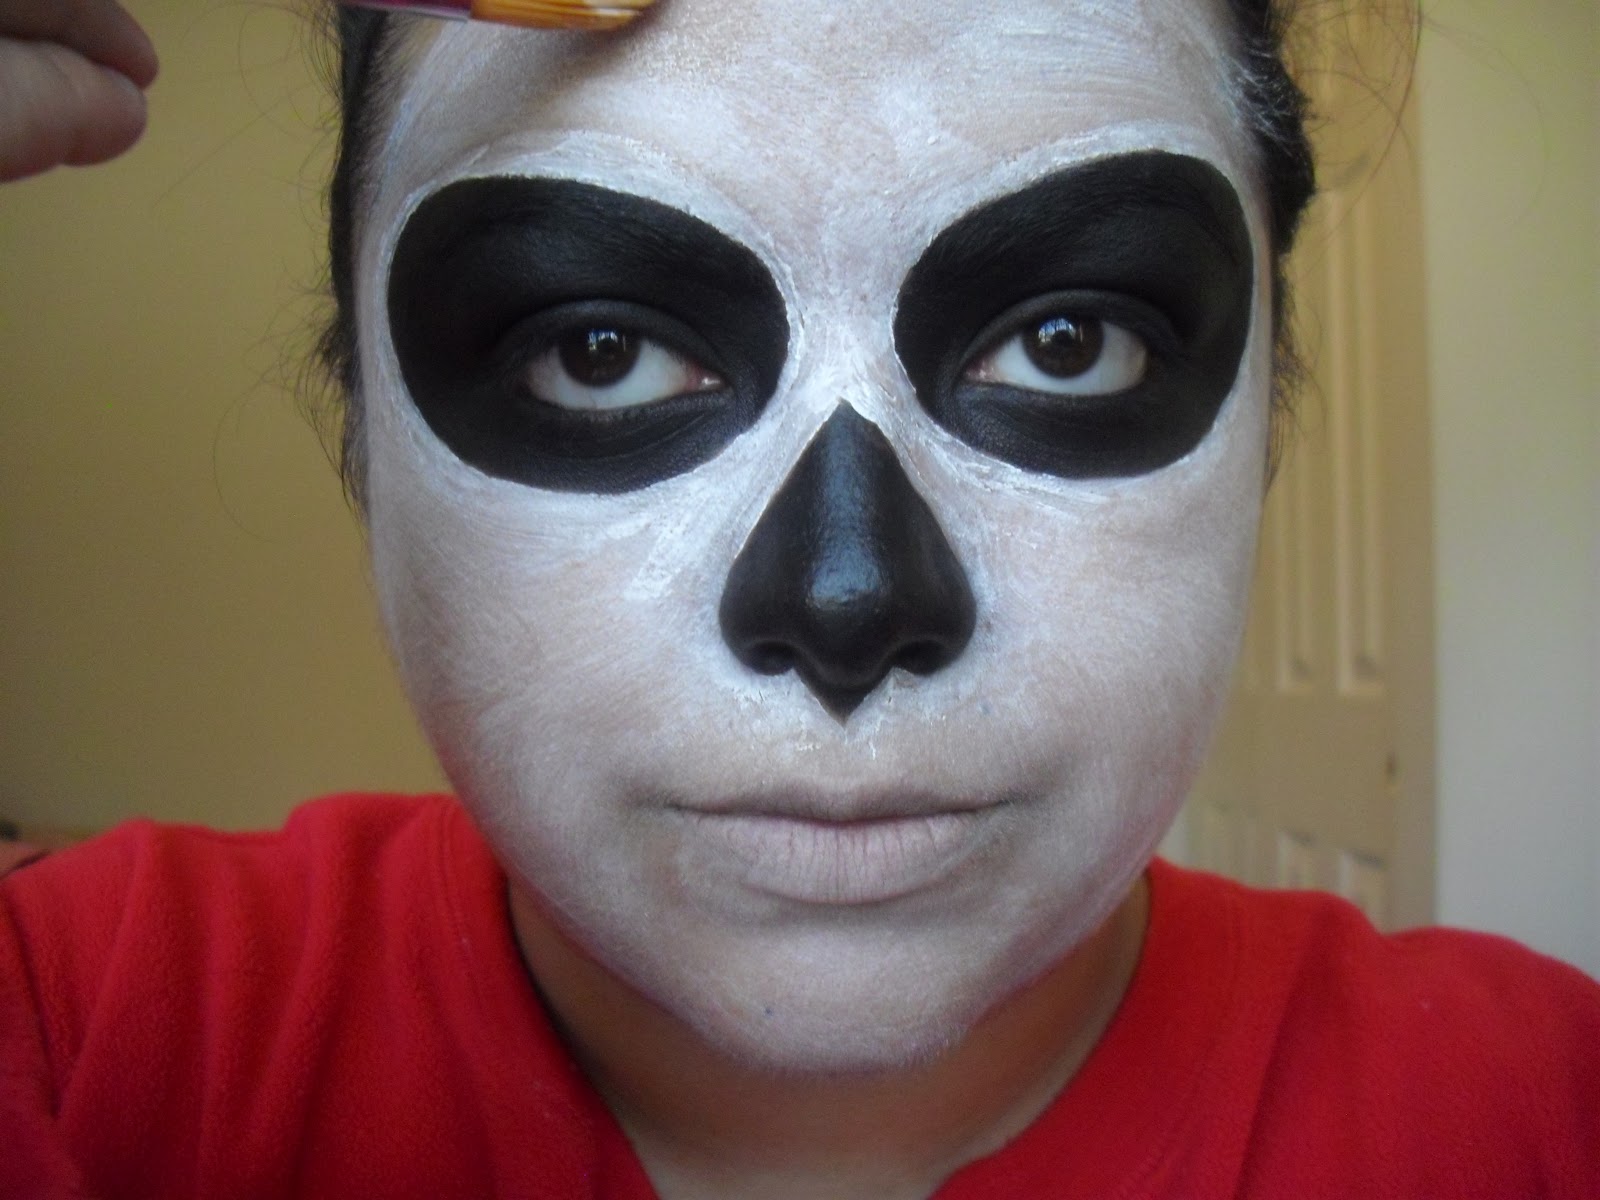
Simple Sugar Skull (Calavera)


With Halloween coming up, here is a simple sugar skull look you can try out. Once again, I start off with no makeup!

 
Things you will need:
Paint brushes (preferable for face painting)
Black face pain
White face paint
Black eyeshadow
Black eyeliner
Translucent setting powder
Powder and fan brush brush
Concealer
Face primer
Cotton buds and pads
Water
Face wipes


Since I have thick dark eyebrows, I started by partially gluing my brow (more on how-to later) and using moisturizer.

With black paint, I first made the outline of the eye shape I wanted. Don't worry if it is not perfect, you can fix it later.
 
Once you have the shape you want, go ahead and fill it in.


 Now using a black liner, line your water line.

 
Go ahead and set it all with a matte black shadow. At this point it still doesn't have to be perfect, just as close as possible to the shape you want. Don't worry about fall out or the edges, we'll fix those in a bit.

 
Now, going in with the black paint again draw the outline of the nose shape you want.


Fill it in, but don't worry about getting it perfect yet. Once you have filled the shape you want, go in with a smaller tip brush to get it perfect. Go back in with the black shadow to set the nose.


Using a fan brush, dust of any excess shadow from your eyes and nose. Clean off all of the fall out to get the skin ready for the next step.

 
Add either a primer or some moisturizer.

 
Use a concealer which is lighter than your skin tone to mute your lips.


Clean off your fan brush and go in with a translucent powder to set the concealer.


I used a mixture of white face paint and moisturizer because this paint really dries my skin. So, I had to do a few coats to get a opaque finish. Anyways, using the paint, go ahead and outline the eyes and nose. Now, you can really go in and make everything perfect.

 
Go ahead and paint the rest of your face and neck. Since I was just going to take a shower after this, I only did my face. I had to do about 2 coats since I mixed in moisturizer. I could've gone for 3 coats to get it perfect, but for demo purposes, I just left it.


Go in with the translucent powder and set the white paint.


To draw the mouth start about 1.5-2 ins past the outer corner and draw a horizontal line to the outer corner of your mouth. Do the same on the other side. Starting at the cupids bow, start drawing multiple vertical stripes.


On your forehead, draw a spider web like so, and connect the lines.


On your chin, you can draw whatever you want. I did a lotus-type flower, but you can draw a rose or smaller spider web.

 
I added some dots and this is what I ended up with. For a super simple or kid's look, you can stop here, but I wanted to add some more.

 
I added a swirl design to add a bit more definition to my cheek hollows


Once again, you can stop here, but I still wanted to add some more bling. :) I decided to add a rhinestone sticker thing in the center of the web.

 
Still not enough! So I added different sized swarovski crystals around the eyes, chin, and on the swirl thing. You can use eyelash glue to get them to stick. Instead of using Duo, I went with a glue which remains tacky even after it has dried.


Tah-dah, you're done! :) Of course, you can add more details, different colors, lashes, glitter, etc... but I just wanted to keep it easy.