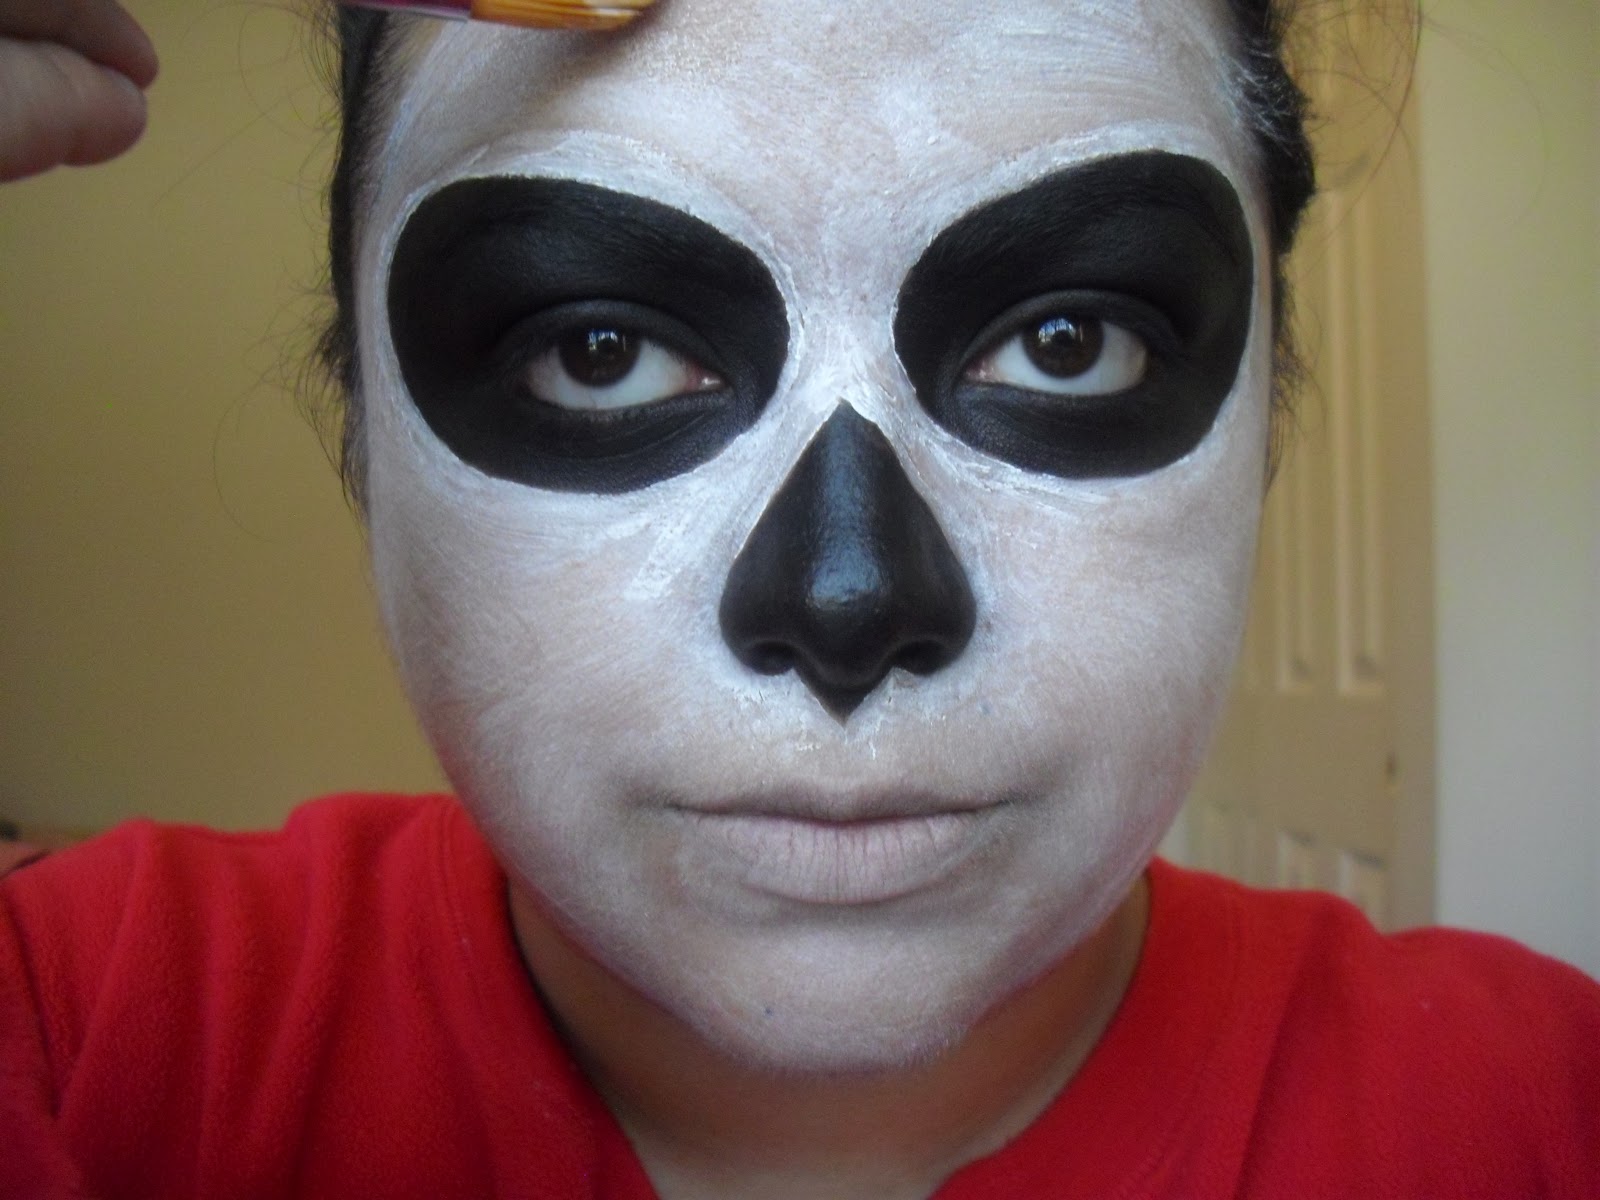
With Halloween coming up, here is a simple sugar skull look you can try out. Once again, I start off with no makeup!
Things you will need:
Paint brushes (preferable for face painting)
Black face pain
White face paint
Black eyeshadow
Black eyeliner
Translucent setting powder
Powder and fan brush brush
Concealer
Face primer
Cotton buds and pads
Water
Face wipes
Since I have thick dark eyebrows, I started by partially gluing my brow (more on how-to later) and using moisturizer.
With black paint, I first made the outline of the eye shape I wanted. Don't worry if it is not perfect, you can fix it later.
Once you have the shape you want, go ahead and fill it in.
Now using a black liner, line your water line.
Go ahead and set it all with a matte black shadow. At this point it still doesn't have to be perfect, just as close as possible to the shape you want. Don't worry about fall out or the edges, we'll fix those in a bit.
Now, going in with the black paint again draw the outline of the nose shape you want.
Fill it in, but don't worry about getting it perfect yet. Once you have filled the shape you want, go in with a smaller tip brush to get it perfect. Go back in with the black shadow to set the nose.
Using a fan brush, dust of any excess shadow from your eyes and nose. Clean off all of the fall out to get the skin ready for the next step.
Add either a primer or some moisturizer.
Use a concealer which is lighter than your skin tone to mute your lips.
Clean off your fan brush and go in with a translucent powder to set the concealer.
I used a mixture of white face paint and moisturizer because this paint really dries my skin. So, I had to do a few coats to get a opaque finish. Anyways, using the paint, go ahead and outline the eyes and nose. Now, you can really go in and make everything perfect.
Go ahead and paint the rest of your face and neck. Since I was just going to take a shower after this, I only did my face. I had to do about 2 coats since I mixed in moisturizer. I could've gone for 3 coats to get it perfect, but for demo purposes, I just left it.
Go in with the translucent powder and set the white paint.
To draw the mouth start about 1.5-2 ins past the outer corner and draw a horizontal line to the outer corner of your mouth. Do the same on the other side. Starting at the cupids bow, start drawing multiple vertical stripes.
On your forehead, draw a spider web like so, and connect the lines.
On your chin, you can draw whatever you want. I did a lotus-type flower, but you can draw a rose or smaller spider web.
I added some dots and this is what I ended up with. For a super simple or kid's look, you can stop here, but I wanted to add some more.
I added a swirl design to add a bit more definition to my cheek hollows
Once again, you can stop here, but I still wanted to add some more bling. :) I decided to add a rhinestone sticker thing in the center of the web.
Still not enough! So I added different sized swarovski crystals around the eyes, chin, and on the swirl thing. You can use eyelash glue to get them to stick. Instead of using Duo, I went with a glue which remains tacky even after it has dried.
Tah-dah, you're done! :) Of course, you can add more details, different colors, lashes, glitter, etc... but I just wanted to keep it easy.